Cloud Studio及Coding WebIDE简介
4月16日,腾讯云与CODING宣布达成战略合作,共同发布以腾讯云云服务器为基础的国内第一款完全基于云端的IDE工具:Cloud Studio的beta版本。
有别于Heroku这样的PaaS云计算平台,根据两家在微信推送中的表述,Cloud Studio更接近于SaaS的概念——本质上是一款在线云端开发工具,减少用户安装IDE的成本,并与腾讯云IaaS/PaaS深度结合,从而提供代码编写、调试、上线一站式闭环体验。

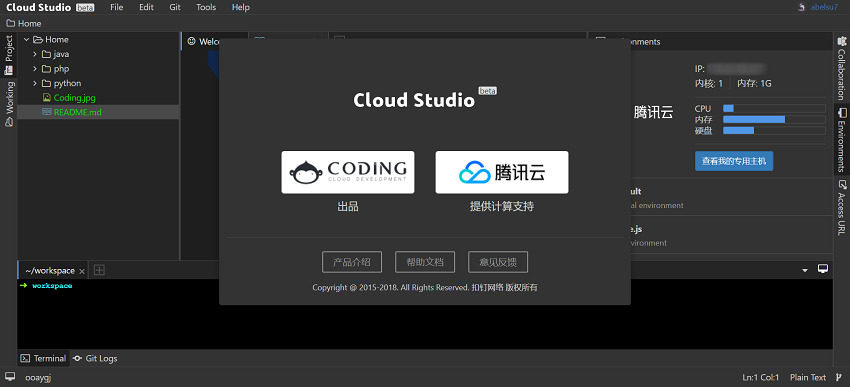
Cloud Studio的前身正是CODING自主研发的Coding WebIDE,CODING的老用户应该会比较熟悉。在Cloud Studio的登录界面仍然保留了旧版WebIDE的访问入口提示,方便老用户继续访问。

值得注意的是,WebIDE的首页明确提到,其底层基于容器技术,可以让系统的预热时间从分钟级降到秒级,配置好的开发环境也可以快捷的保存与分享。

而源于Coding WebIDE的Cloud Studio同样采用了容器技术,这点可以在腾讯云发布的微信推送中得到印证,以下为部分内容摘抄。
“软件研发效率在不断提升,开发工具也需要同步更新迭代,这就对计算资源提出了更高要求。每台 Cloud Studio 的背后,都有腾讯云云服务器、容器服务等服务在提供计算支持,帮助用户升级开发模式、变更应用交付、重构数据管理方式,提速企业应用部署。依托腾讯云的强大弹性能力,还能够做到资源快速伸、容灾等。开发者使用Cloud Studio 时登录浏览器即可进行编程,提供完整的 Linux 环境,并且支持自定义域名指向、动态计算资源调整,可以完成各种应用的开发编译与部署。另外,每个 Cloud Studio 拥有独立的计算资源,支持多环境快速切换、协同编辑、全功能 Terminal 等功能。据悉,下一步,Cloud Studio 将开放调配资源、在线 Terminal 操作云资源等功能。”
话不多说,现在就来初探Cloud Studio吧~
注册CODING账号
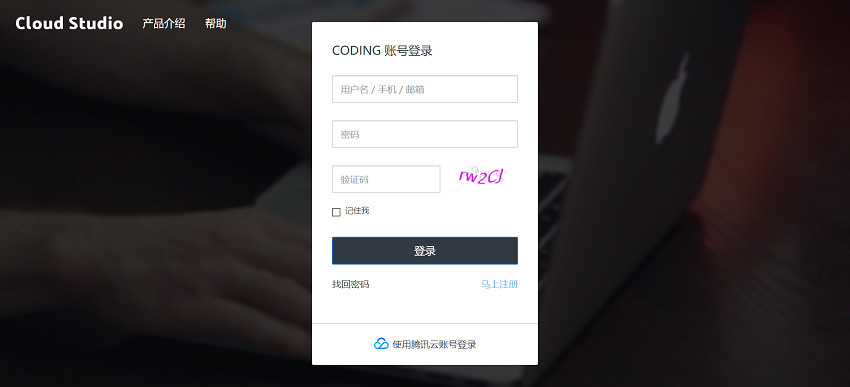
Cloud Studio是由CODING和腾讯云共同提供的服务,自然需要我们注册这两家的账号。访问https://studio.coding.net,随即跳转至CODING账号登录界面,因为我之前就是CODING的用户,直接登录,进入下一步。
申请Free Trial
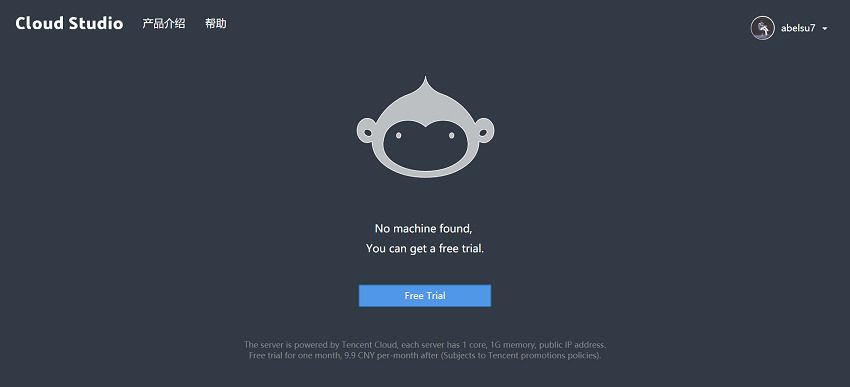
登录CODING账户之后,系统会首先检测是否已有云主机。首次登录可以申请30天的免费试用。按照官方的说法,到期之后可按低至9.9元/月的价格续费主机,可以说是很划算了。
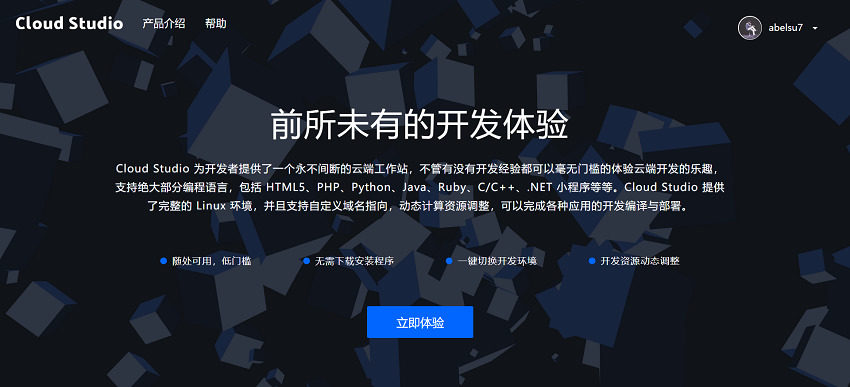
该界面还有产品介绍和帮助文档的访问链接,正式进入Cloud Studio之前不妨先去逛一逛。
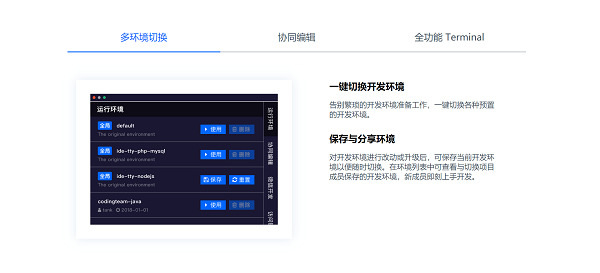
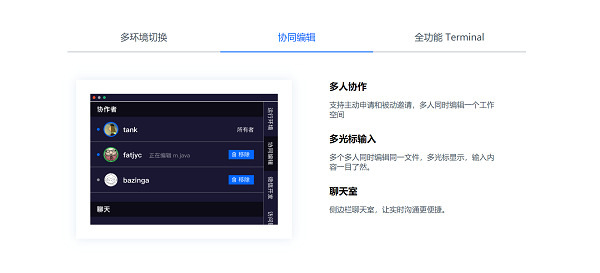
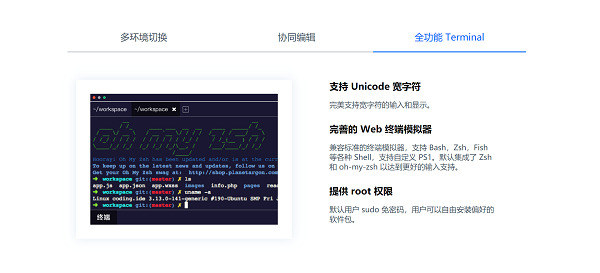
重点提及的功能包括多环境切换、协同编辑以及全功能Terminal,终端默认使用oh-my-zsh,好评~
回到正题,继续我们的Cloud Studio的体验之旅。
腾讯云授权
申请Free Trial试用后,系统会自动申请一台1核1GB,10G空间的腾讯云主机作为Cloud Studio的后端服务器,如果之前没有绑定腾讯云的账号,此时会跳转至腾讯云的授权页面,点击授权即可。如无意外,就会进入Cloud Studio的主界面中。

开始使用Cloud Studio
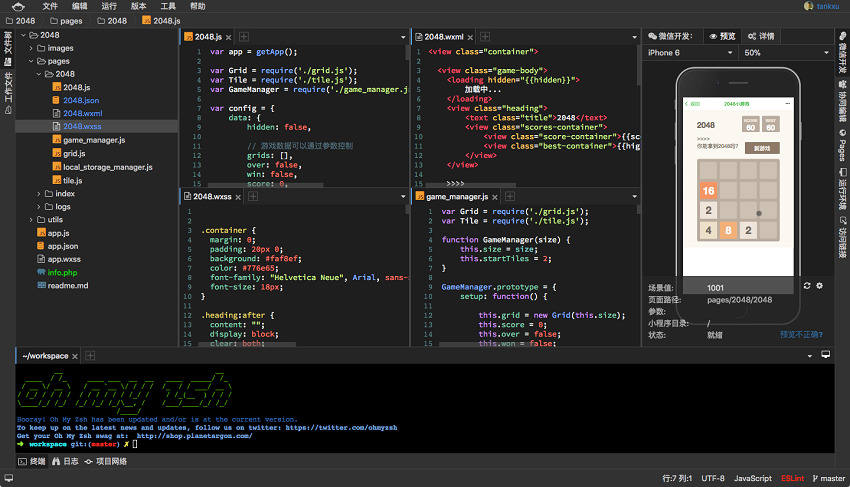
Cloud Studio有着广阔的使用场景。在其官方介绍中,将开发微信小程序作为示例场景进行展示。
另外Cloud Studio还支持协同编辑和聊天的功能,以官方介绍图为例。

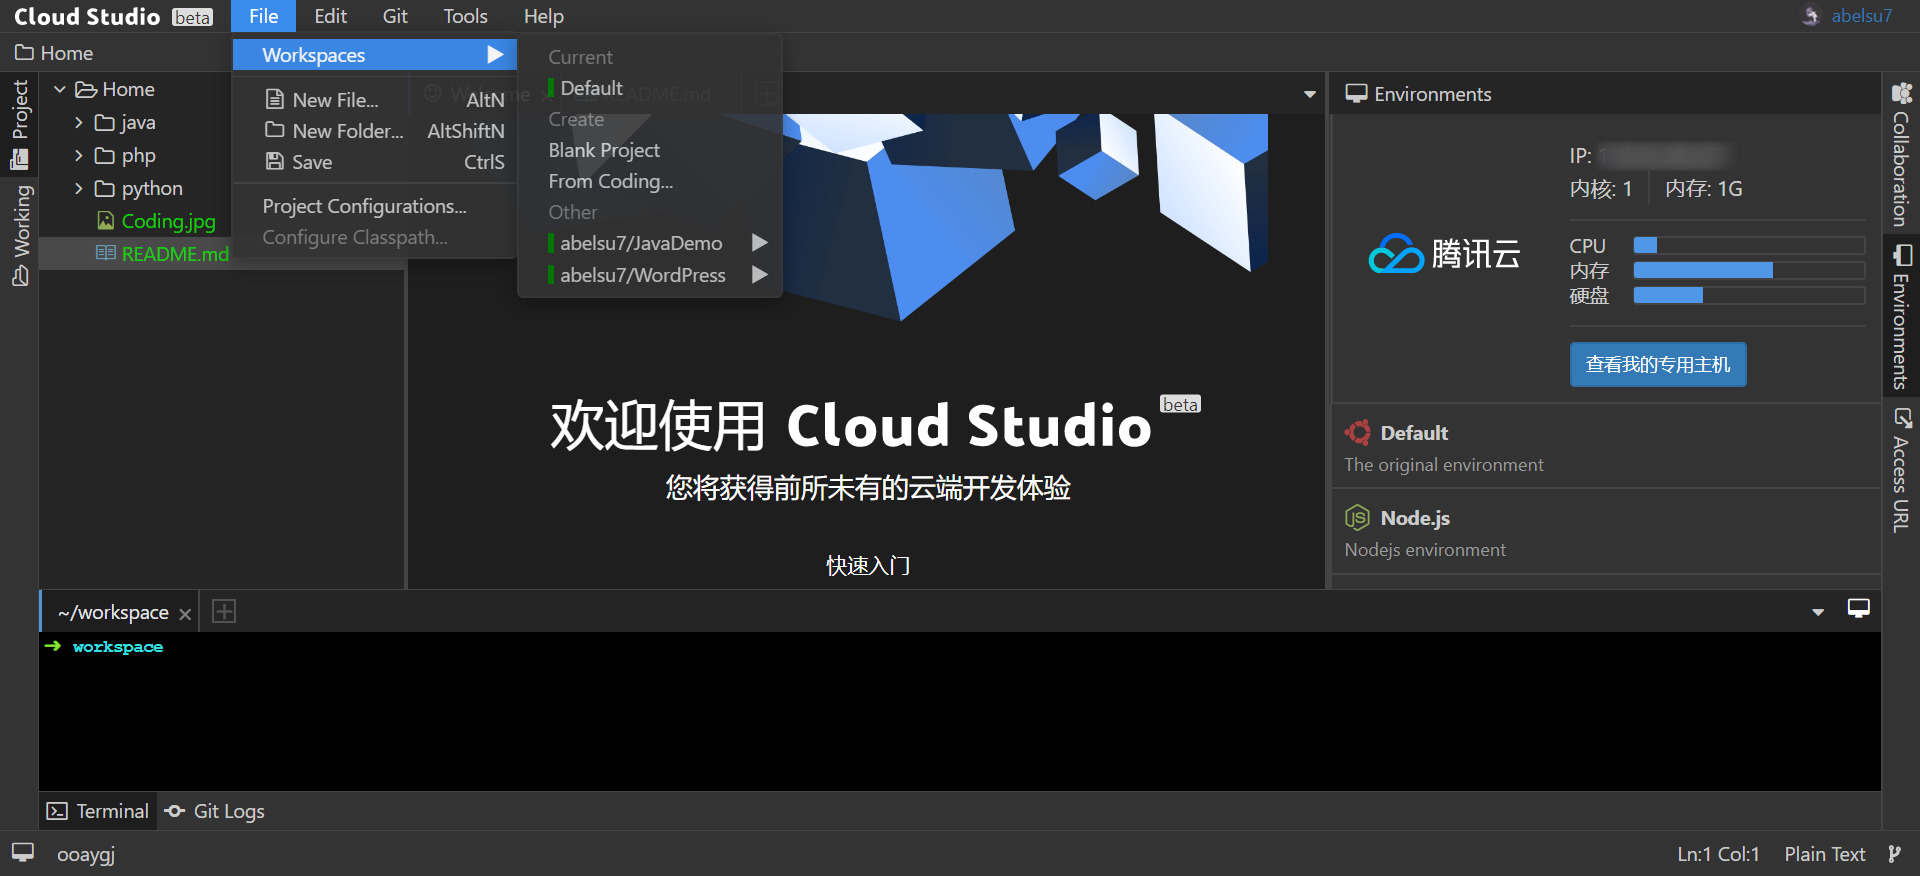
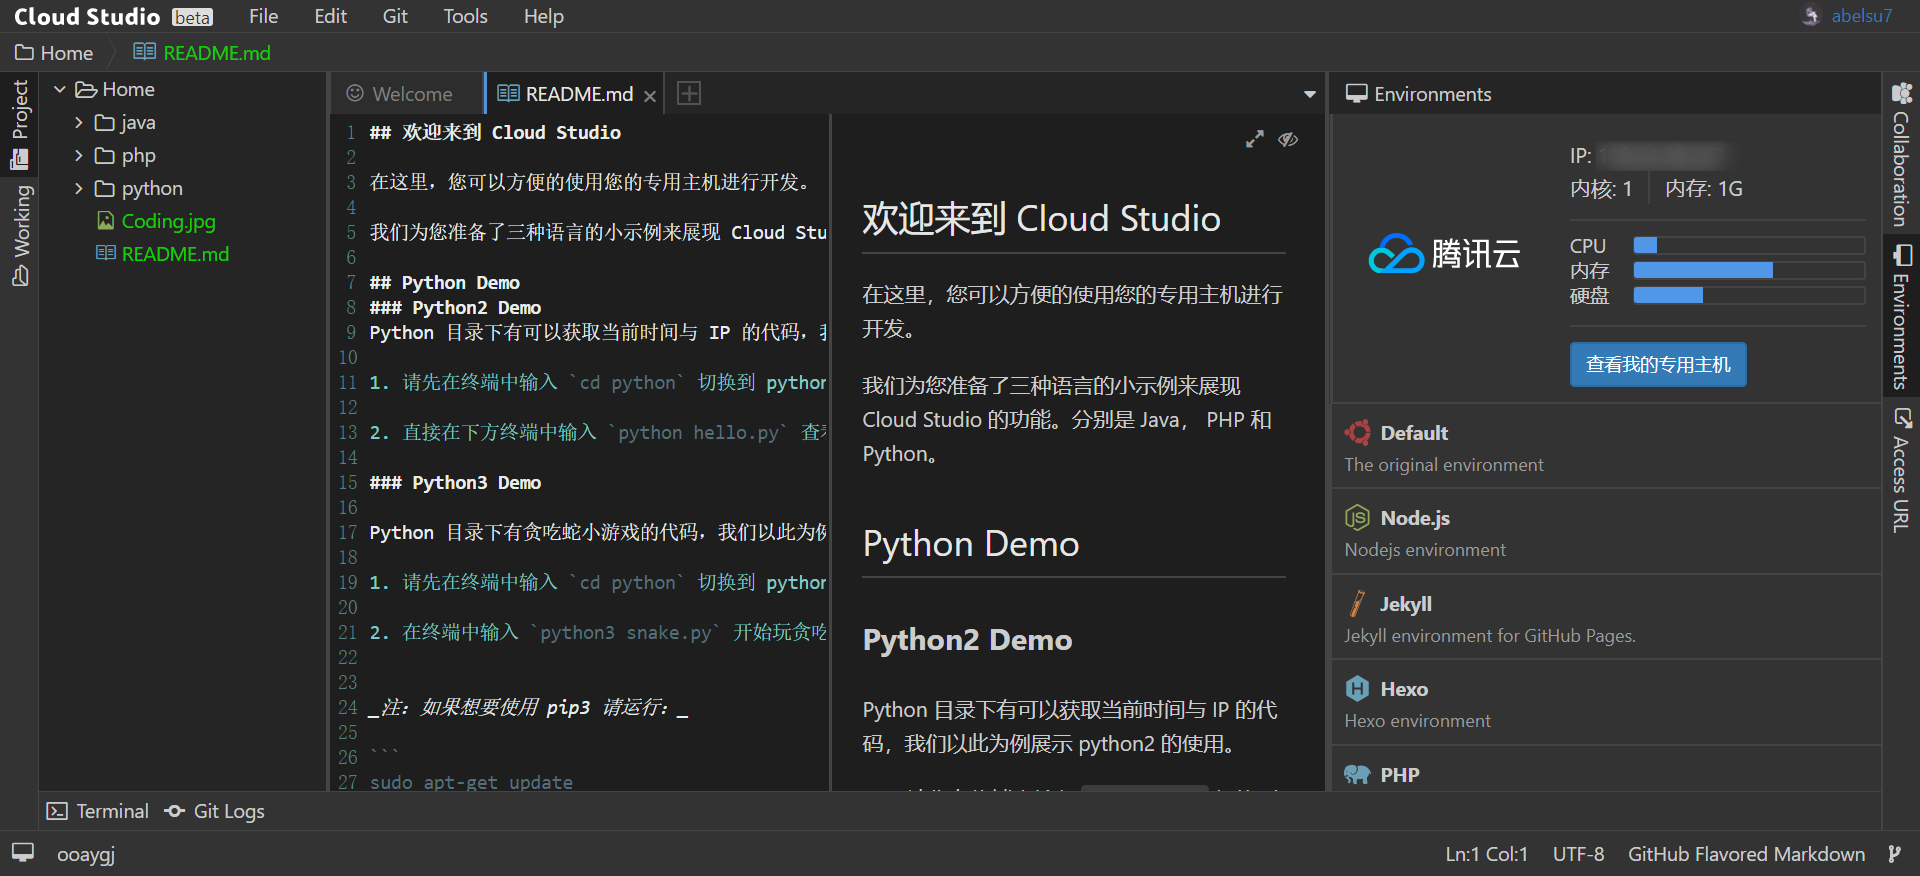
而用户初次进入Cloud Studio会创建默认的workspace,也可以创建空项目或从CODING导入已有项目。可以看到IDE的风格和IntelliJ IDEA很相似。
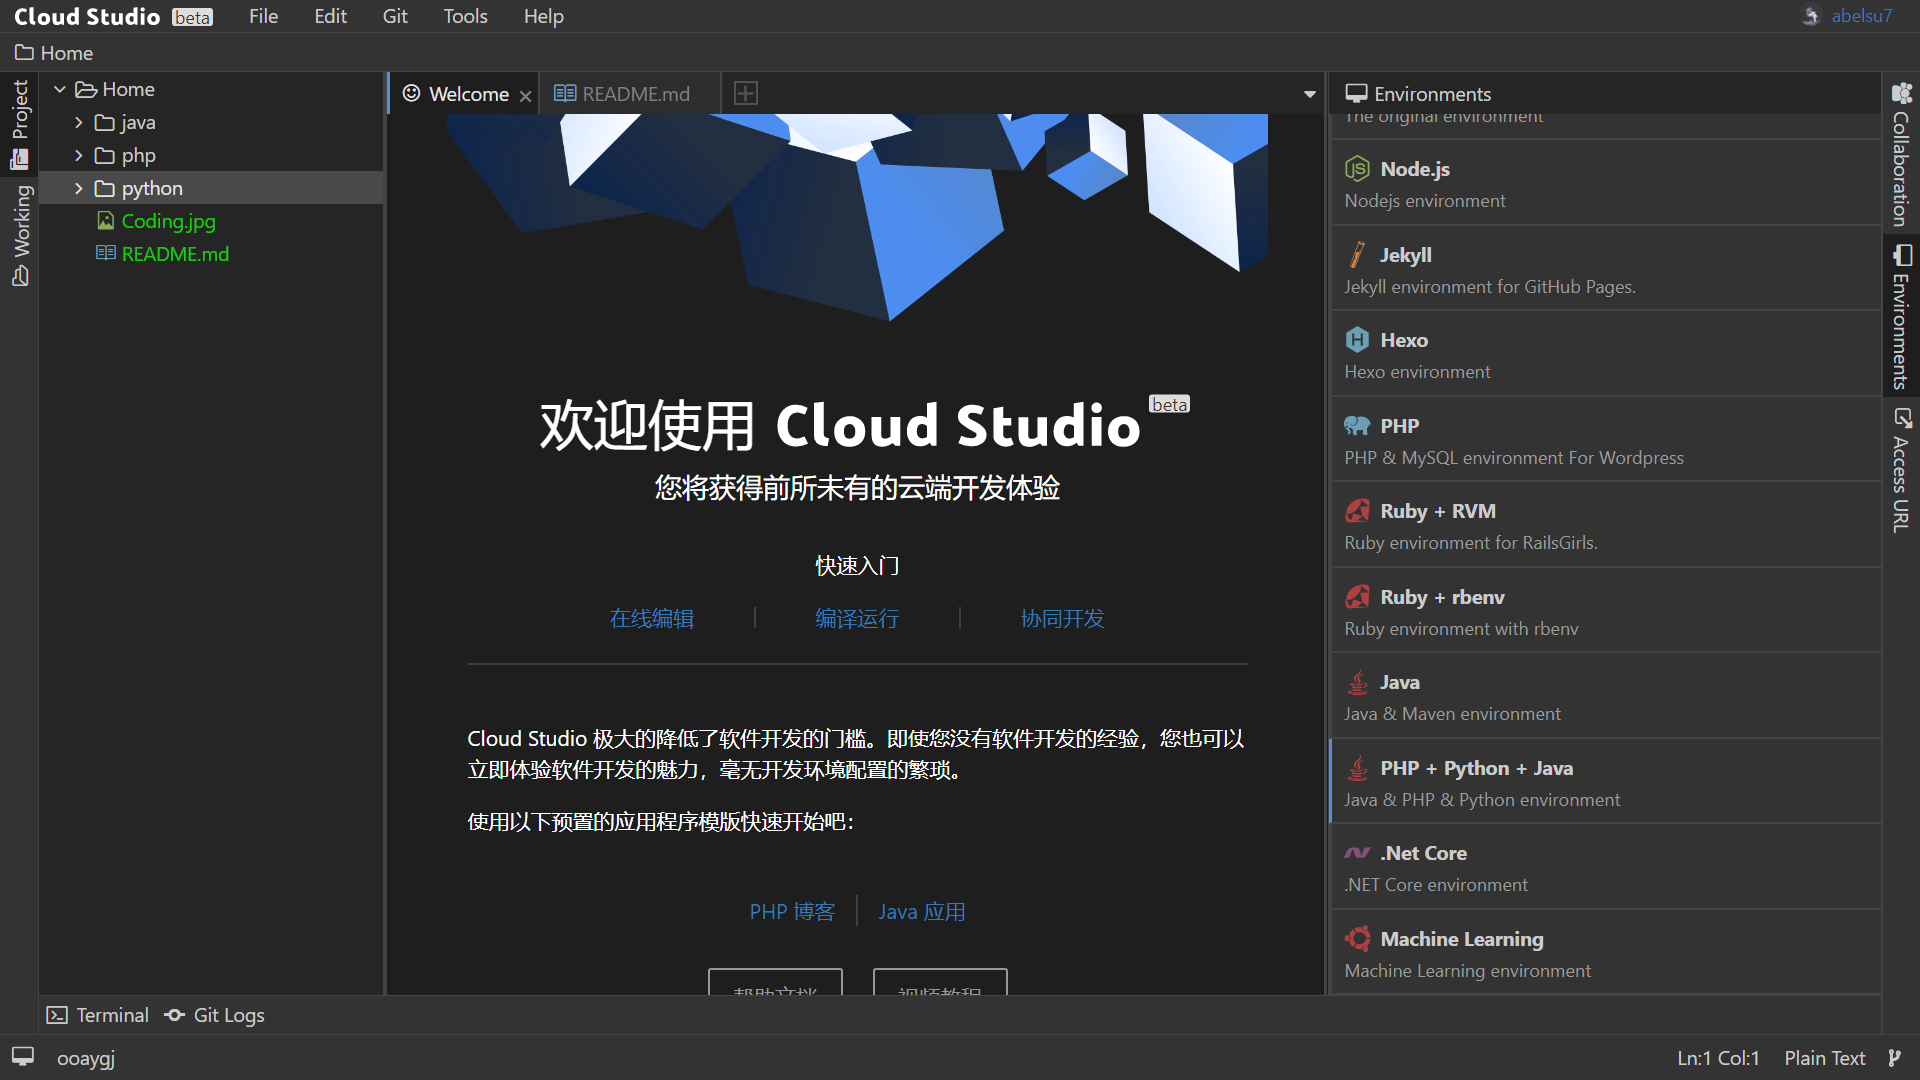
Cloud Studio预设了包括Node.js、Jekyll、Hexo、PHP、Ruby、Java、Python、.Net、Machine Learning(是的,你没有看错)等多种开发环境,用户可在Environments选项卡中快速切换。
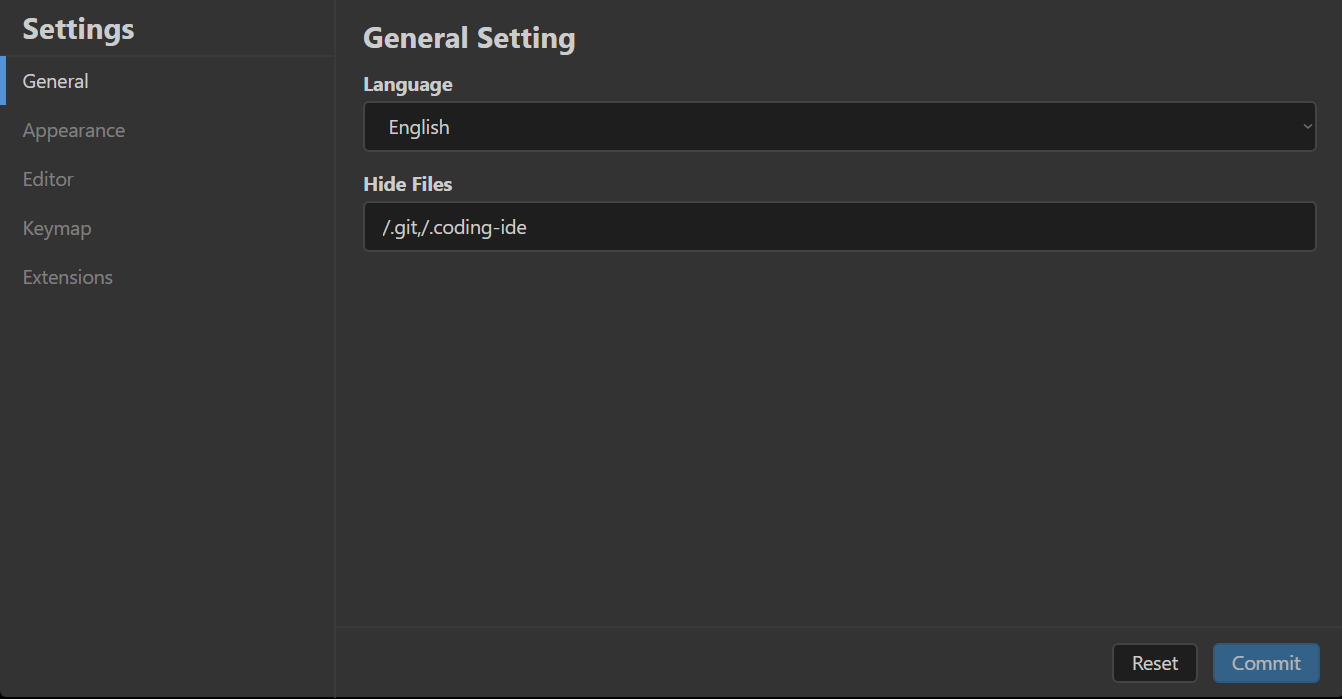
在General Setting中,可对界面显示语言及文件树隐藏文件进行设置。
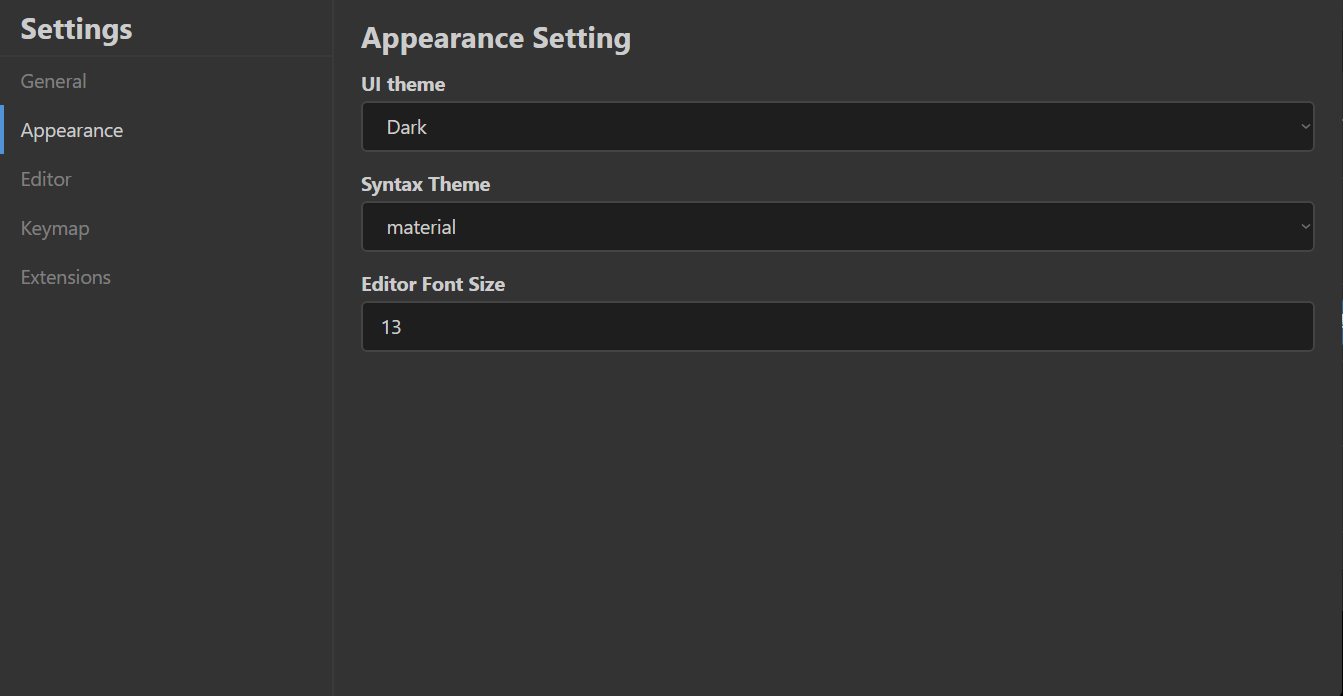
在Appearance Setting中,可切换亮/暗主题,并设置代码高亮配色,默认为material。
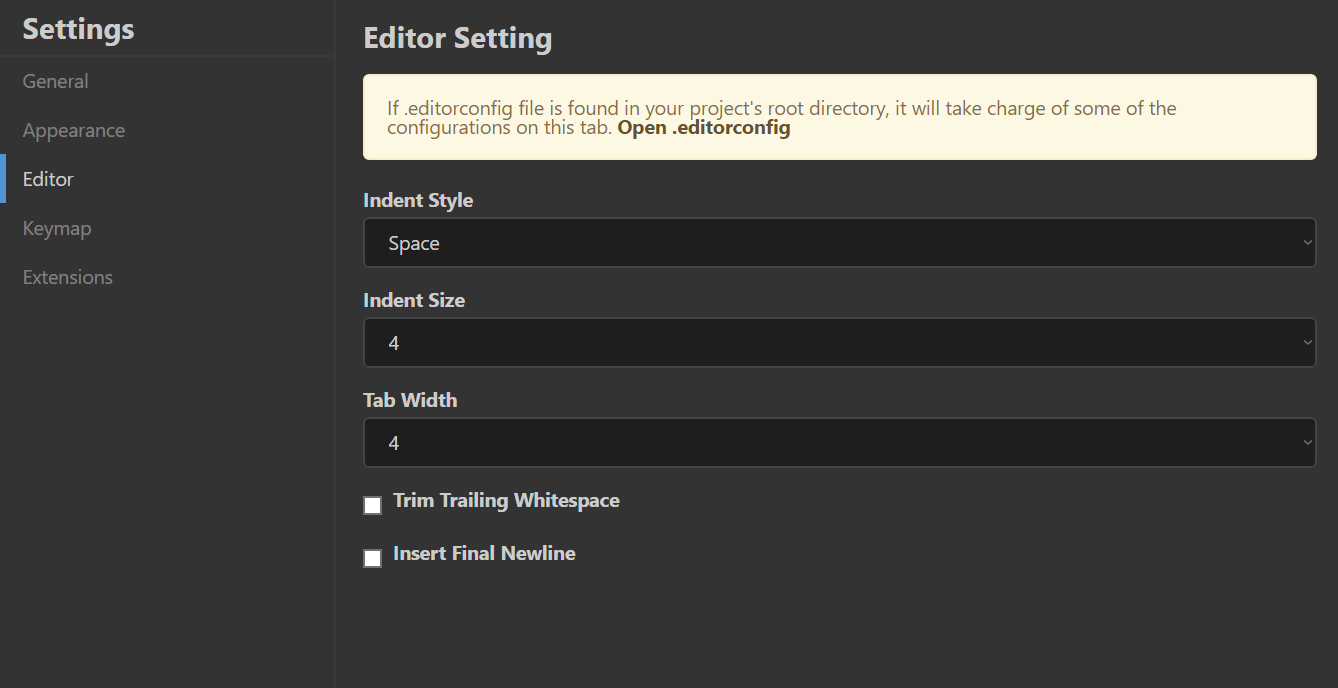
在Editor Setting中,可设置缩进风格与缩进宽度。
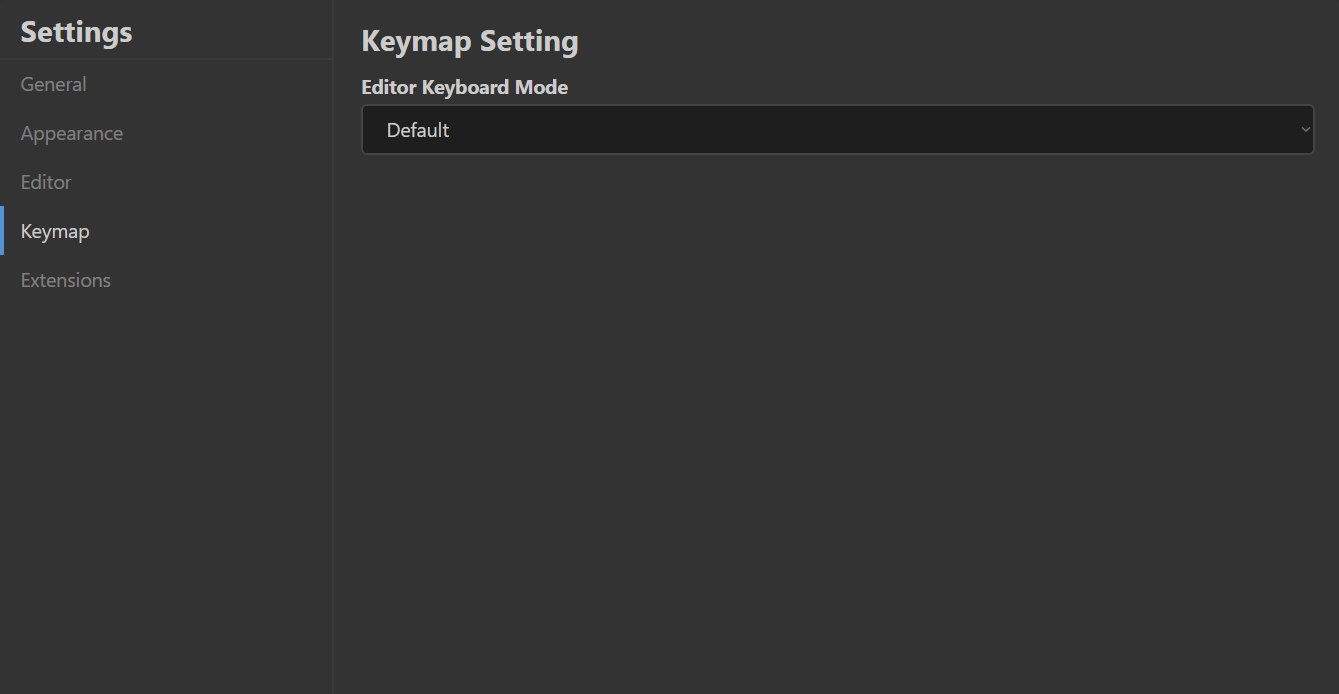
在Keymap Setting中,可设置快捷键风格,预设包括Default、Sublime、Vim和Emacs。
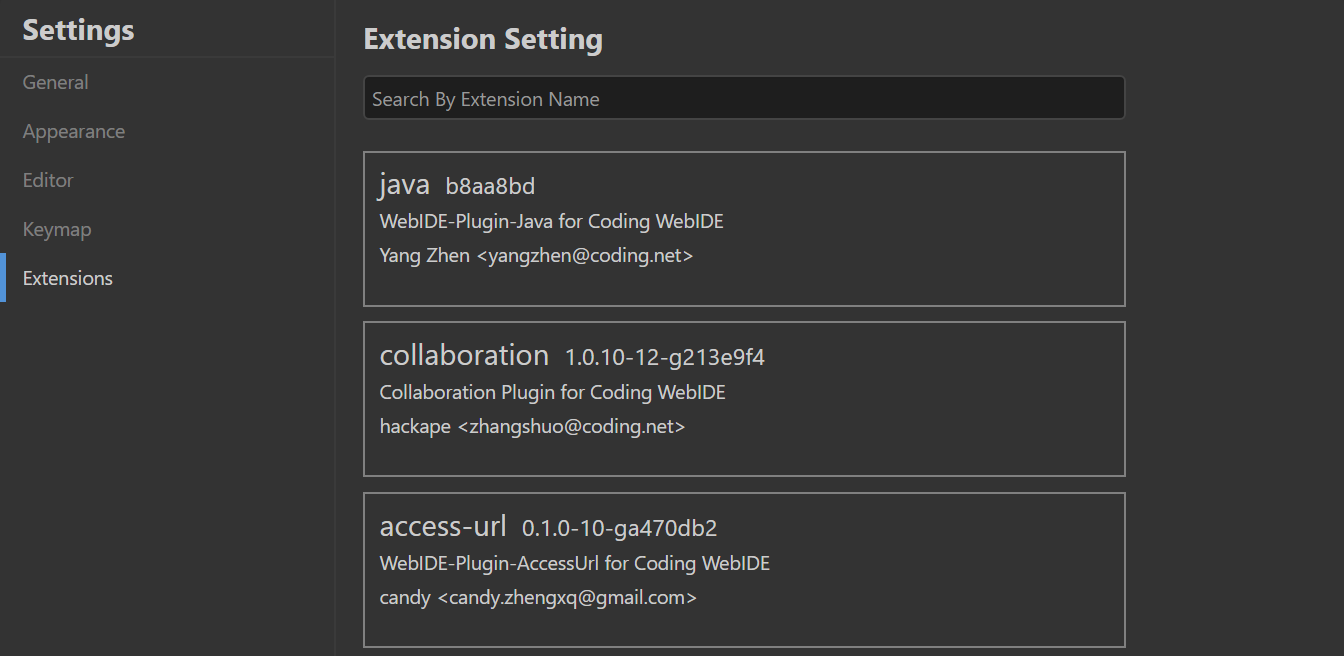
在Extension Setting中,可搜索并安装各类插件,目前插件数量十分有限,相信日后会逐渐提高数量与质量。
查看腾讯云专用主机
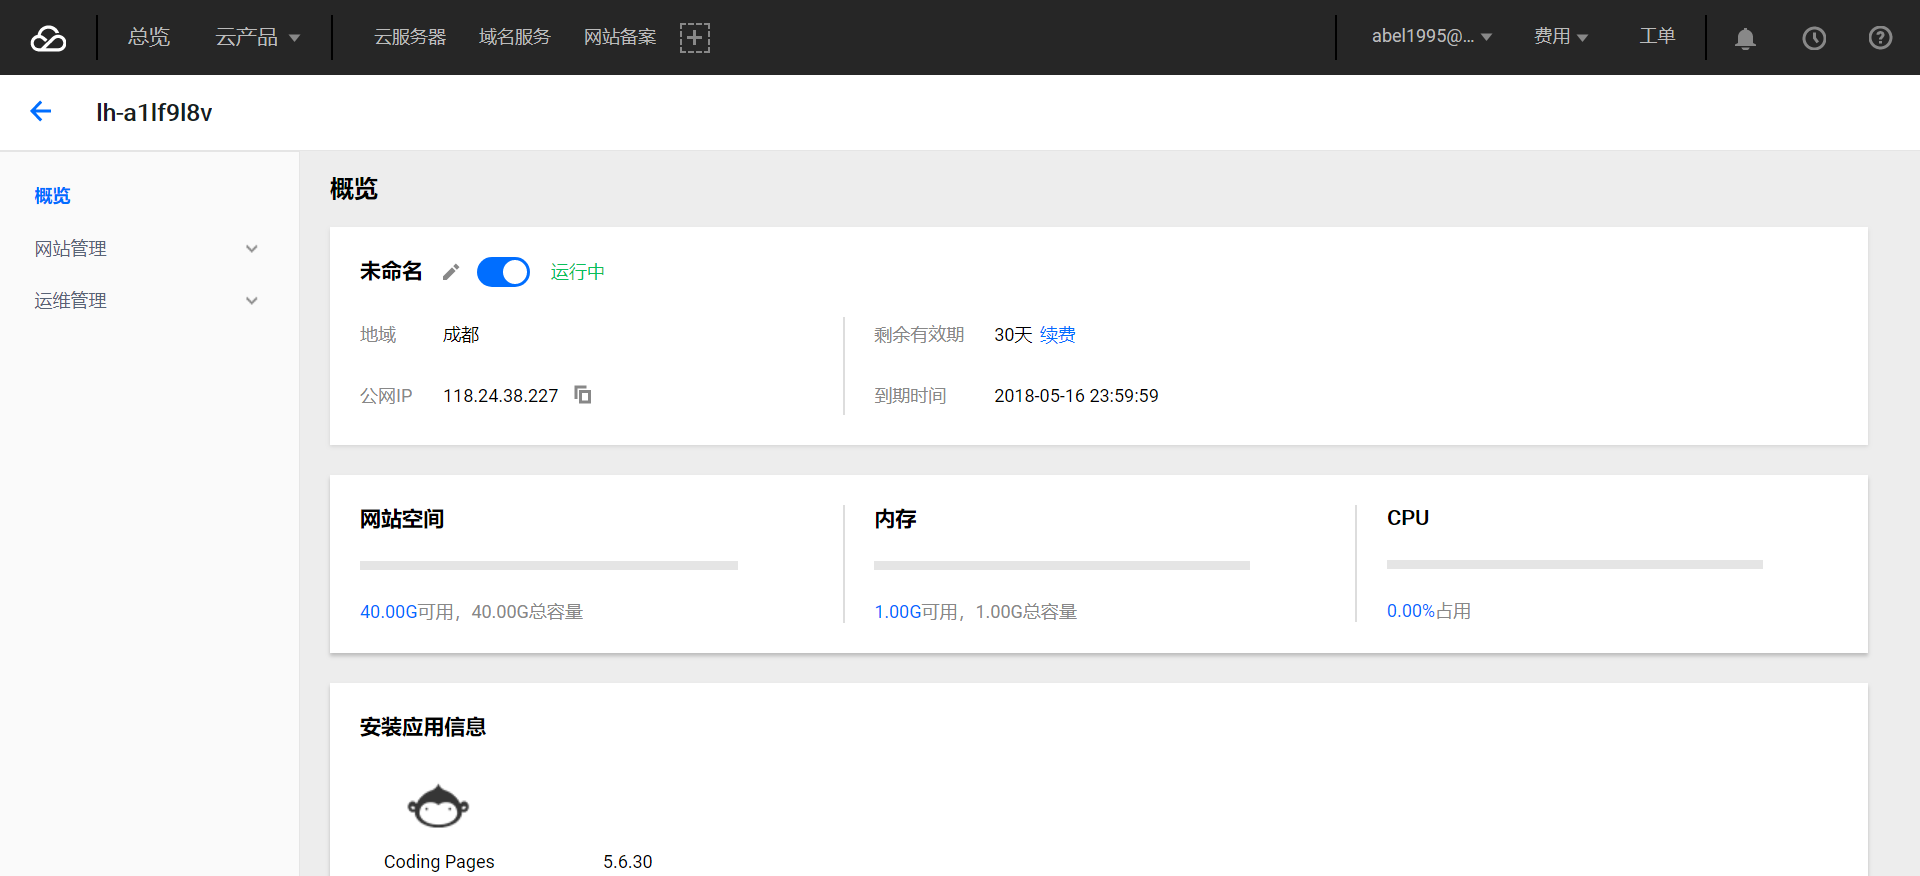
右上角的Environments选项卡中列出了腾讯云专用主机的公网IP地址及硬件参数,点击查看我的专用主机即可跳转至腾讯云主机列表。
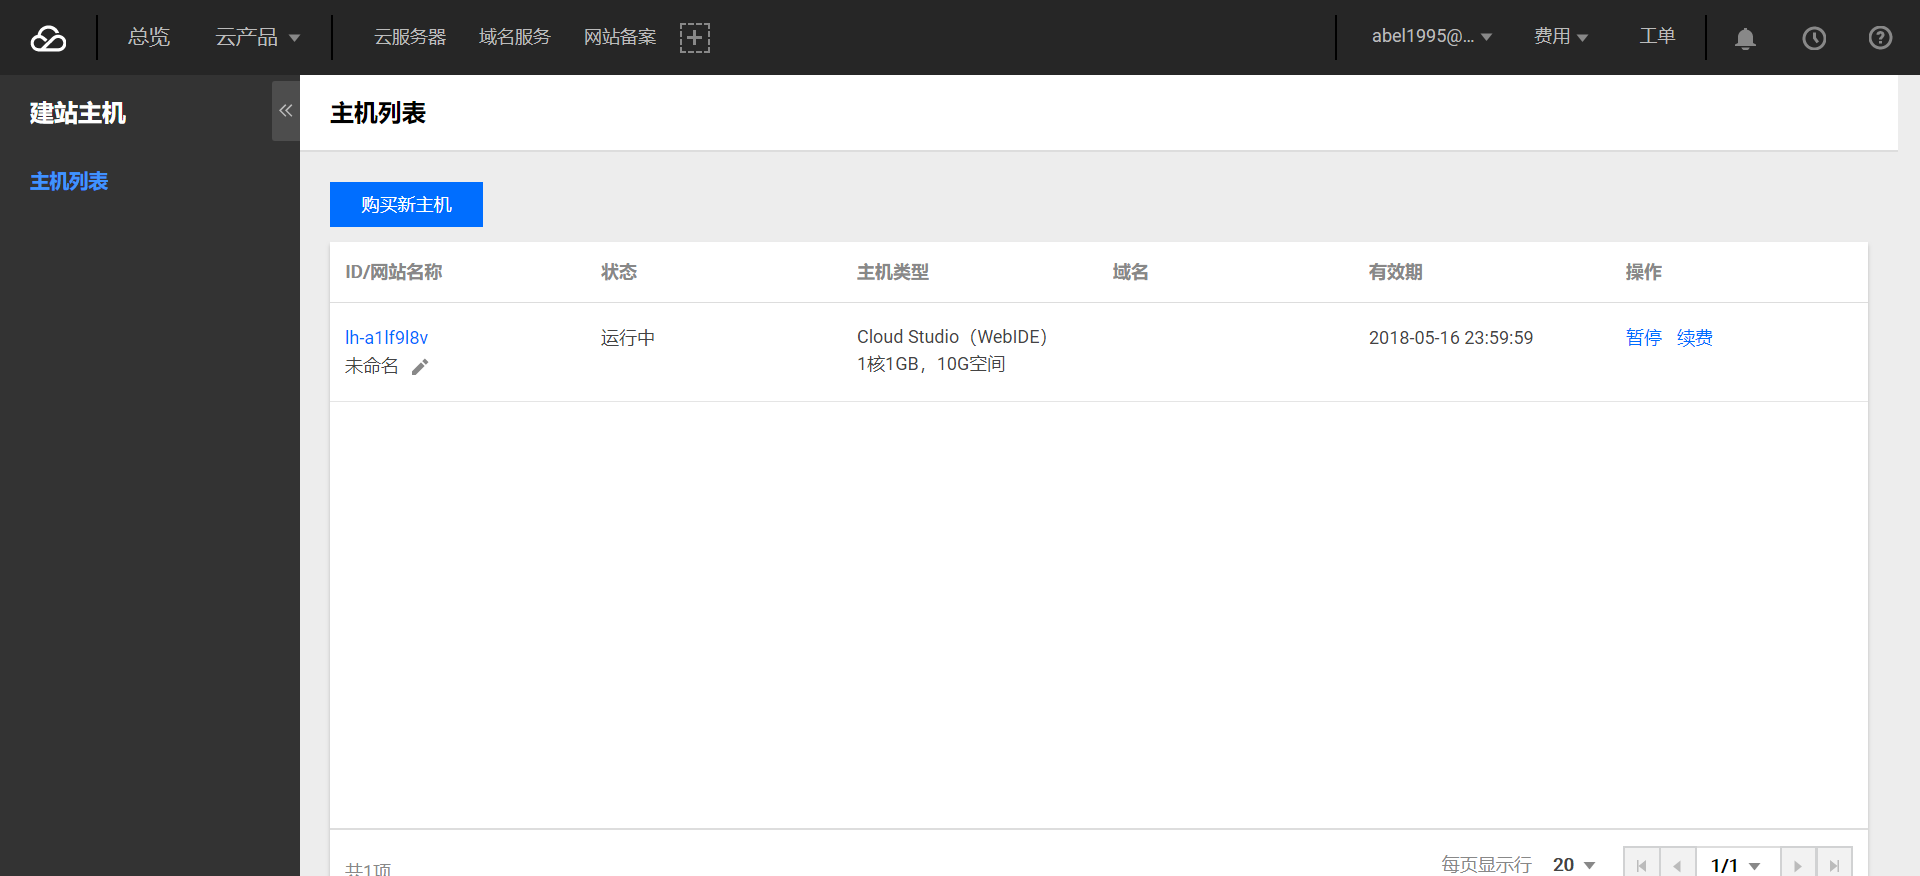
点击该主机查看详细信息,发现其位于成都机房,剩余30天有效期。
返回Cloud Studio,继续体验之旅。
体验终端
接下来通过Cloud Studio中的集成终端来对这台云主机一探究竟,可以看到配色还是比较舒服的。
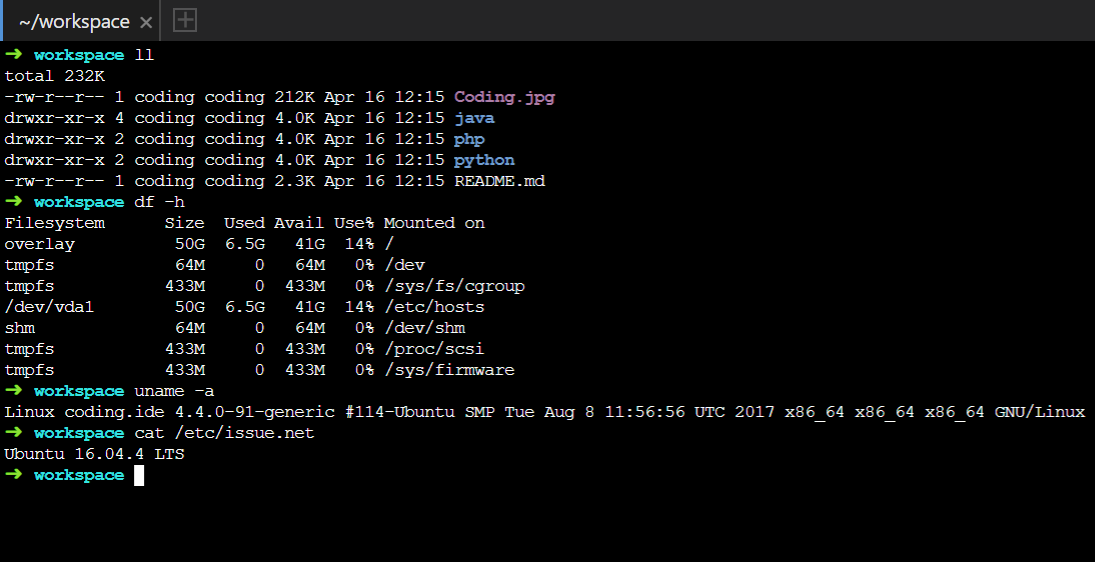
使用df及uname命令,发现该云主机根目录挂载了40G存储空间,操作系统为Ubuntu 16.04.4 LTS。
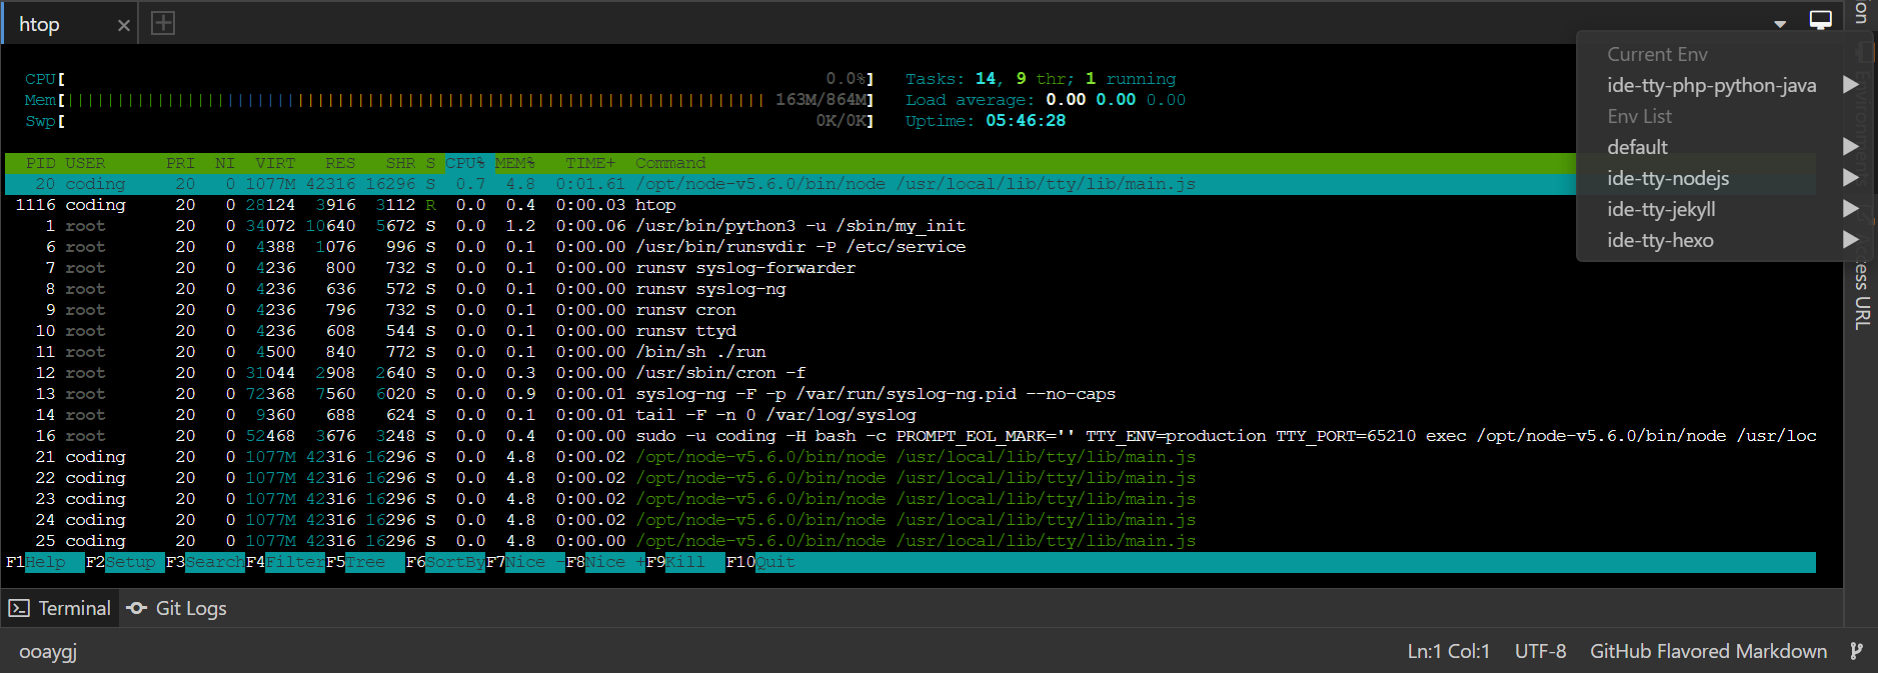
点击终端右上角的图标,可以快速切换终端运行环境。使用htop命令发现该云主机为1核CPU、内存1G。
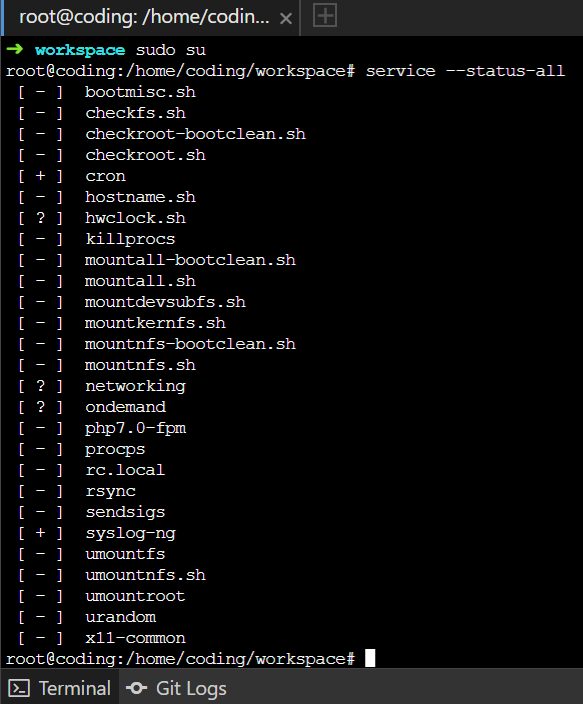
由于用户未设置密码,使用su命令可直接获取root权限。
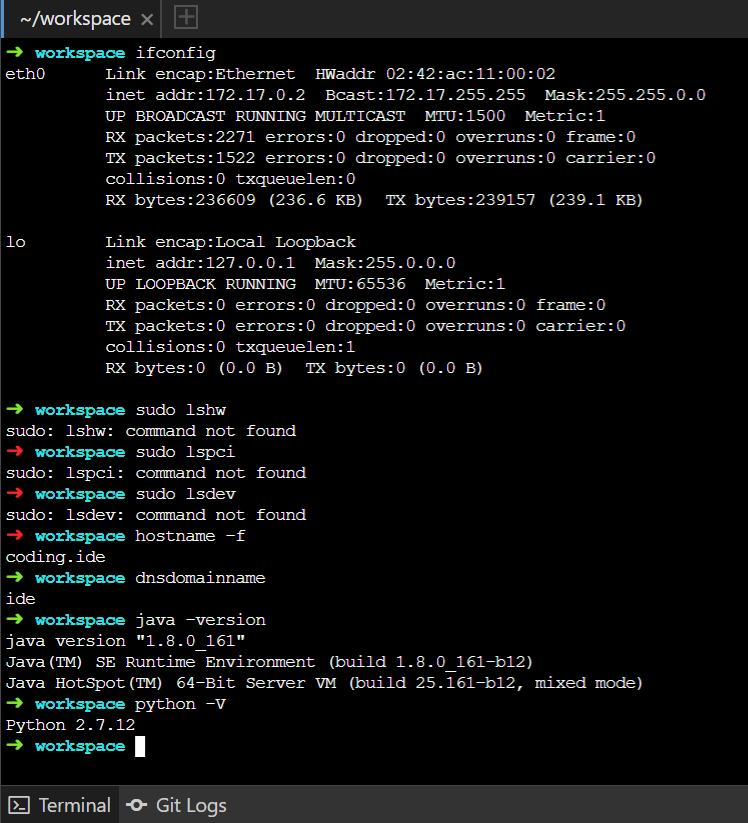
可通过ifconfig命令查看网卡信息,但与硬件相关的命令均无法调用。Java版本为1.8.0_161,Python2版本为2.7.12,Python3版本为3.5.2。
体验官方Demo
体验完强大的Terminal之后,就来试跑一下官方提供的Demo吧~
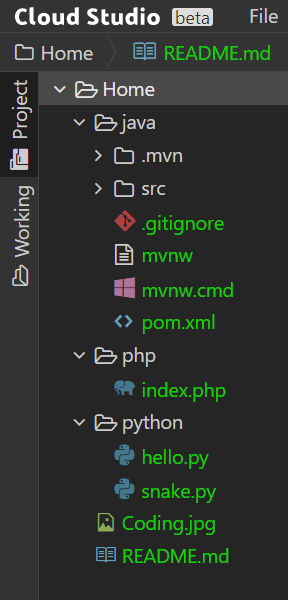
在默认的Workspace中,CODING准备了Java、Python、PHP三种语言的小示例帮助用户体验Cloud Studio的基本功能。
Python 2 Demo
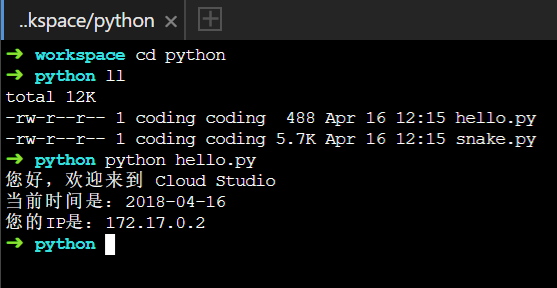
Python 2的Demo功能很简单:获取当前时间与IP,hello.py代码如下。
#!/usr/bin/env python
# -*- coding: utf-8 -*-

import socket
import time

def get_time():
    return time.strftime('%Y-%m-%d',time.localtime(time.time()))

def get_host_ip():
    try:
        s = socket.socket(socket.AF_INET, socket.SOCK_DGRAM)
        s.connect(('8.8.8.8', 80))
        ip = s.getsockname()[0]
    finally:
        s.close()

    return ip

print "您好,欢迎来到 Cloud Studio"
print "当前时间是:" + get_time()
print "您的IP是:" + get_host_ip()
进入python目录,运行python hello.py即可。
Python 3 Demo
Python 3的Demo要更有趣一些:来自Github上的开源项目Cursed Snake,这是一个由borisuvarov开发、基于Python 3的控制台贪吃蛇游戏,snake.py代码如下。
#!/usr/local/bin/python3
# -*- coding: utf-8 -*-
"""
Simple Snake console game for Python 3.

From https://github.com/borisuvarov/cursed_snake

Use it as introduction to curses module.

Warning: curses module available only in Unix.
On Windows use UniCurses (https://pypi.python.org/pypi/UniCurses).
UniCurses is not installed by default.

"""

import curses  # https://docs.python.org/3/library/curses.html
import time
import random


def redraw():  # Redraws game field and it's content after every turn
    # win.erase()
    win.clear()
    draw_food()  # Draws food on the game field
    draw_snake()  # Draws snake
    draw_menu()
    win.refresh()


def draw_menu():
    win.addstr(0,0, "Score: " + str(len(snake) - 2) + "      Press 'q' to quit", curses.color_pair(5))


def draw_snake():
    try:
        n = 0  # There can be only one head
        for pos in snake:  # Snake is the list of [y, x], so we swap them below
            if n == 0:
                win.addstr(pos[1], pos[0], "@", curses.color_pair(ex_foodcolor))  # Draws head
            else:
                win.addstr(pos[1], pos[0], "#", curses.color_pair(ex_foodcolor))  # Draws segment of the body
            n += 1
    except Exception as drawingerror:
        print(drawingerror, str(cols), str(rows))


def draw_food():
    for pos in food:
        win.addstr(pos[1], pos[0], "+", curses.color_pair(foodcolor))


def drop_food():
    x = random.randint(1, cols - 2)
    y = random.randint(1, rows - 2)
    for pos in snake:  # Do not drop food on snake
        if pos == [x, y]:
            drop_food()

    food.append([x, y])


def move_snake():
    global snake  # List
    global grow_snake  # Boolean
    global cols, rows  # Integers

    head = snake[0]  # Head is the first element of "snake list"
    if not grow_snake:  # Remove tail if food was not eaten on this turn
        snake.pop()
    else:  # If food was eaten on this turn, we don't pop last item of list,
        grow_snake = False  # but we restore default state of grow_snake
    if direction == DIR_UP:  # Calculate the position of the head
        head = [head[0], head[1] - 1]  # We will swap x and y in draw_snake()
        if head[1] == 0:
            head[1] = rows - 2  # Snake passes through the border
    elif direction == DIR_DOWN:
        head = [head[0], head[1] + 1]
        if head[1] == rows - 1:
            head[1] = 1
    elif direction == DIR_LEFT:
        head = [head[0] - 1, head[1]]
        if head[0] == 0:
            head[0] = cols - 2
    elif direction == DIR_RIGHT:
        head = [head[0] + 1, head[1]]
        if head[0] == cols - 1:
            head[0] = 1

    snake.insert(0, head)  # Insert new head


def is_food_collision():
    for pos in food:
        if pos == snake[0]:
            food.remove(pos)
            global foodcolor
            global ex_foodcolor
            ex_foodcolor = foodcolor
            foodcolor = random.randint(1, 6)  # Pick random color of the next food
            return True
    return False


def game_over():
    global is_game_over
    is_game_over = True
    win.erase()
    win.addstr(10, 20, "Game over! Your score is " + str(len(snake)) + "  Press 'q' to quit", curses.color_pair(1))


def is_suicide():  # If snake collides with itself, game is over
    for i in range(1, len(snake)):
        if snake[i] == snake[0]:
            return True
    return False


def end_game():
    curses.nocbreak()
    win.keypad(0)
    curses.echo()
    curses.endwin()


# Initialisation starts --------------------------------------------
DIR_UP = 0  # Snake's directions, values are not important,
DIR_RIGHT = 1  # they сan be "a", "b", "c", "d" or something else
DIR_DOWN = 2
DIR_LEFT = 3

is_game_over = False
grow_snake = False

snake = [[10, 5], [9, 5]]  # Set snake size and position
direction = DIR_RIGHT
food = []
foodcolor = 2
ex_foodcolor = 3

win = curses.initscr()  # Game field in console initialised with curses module
curses.start_color()  # Enables colors
curses.init_pair(1, curses.COLOR_CYAN, curses.COLOR_BLACK)
curses.init_pair(2, curses.COLOR_BLUE, curses.COLOR_BLACK)
curses.init_pair(3, curses.COLOR_GREEN, curses.COLOR_BLACK)
curses.init_pair(4, curses.COLOR_MAGENTA, curses.COLOR_BLACK)
curses.init_pair(5, curses.COLOR_RED, curses.COLOR_BLACK)
curses.init_pair(6, curses.COLOR_YELLOW, curses.COLOR_BLACK)
win.keypad(1)  # Enable arrow keys
win.nodelay(1)  # Do not wait for keypress
curses.curs_set(0)  # Hide cursor
curses.cbreak()  # Read keys instantaneously
curses.noecho()  # Do not print stuff when keys are pressed
rows, cols = win.getmaxyx()  # Get terminal window size

#  Initialisation ends ---------------------------------------------


#  Main loop starts ------------------------------------------------
drop_food()
redraw()


while True:
    if is_game_over is False:
        redraw()
    key = win.getch()  # Returns a key, if pressed
    time.sleep(0.1)  # Speed of the game

    if key != -1:  # win.getch returns -1 if no key is pressed
        if key == curses.KEY_UP:
            if direction != DIR_DOWN:  # Snake can't go up if she goes down
                direction = DIR_UP
        elif key == curses.KEY_RIGHT:
            if direction != DIR_LEFT:
                direction = DIR_RIGHT
        elif key == curses.KEY_DOWN:
            if direction != DIR_UP:
                direction = DIR_DOWN
        elif key == curses.KEY_LEFT:
            if direction != DIR_RIGHT:
                direction = DIR_LEFT
        elif chr(key) == "q":
            break

    if is_game_over is False:
        move_snake()

    if is_suicide():
        game_over()

    if is_food_collision():
        drop_food()
        grow_snake = True

end_game()
#  Main loop ends --------------------------------------------------
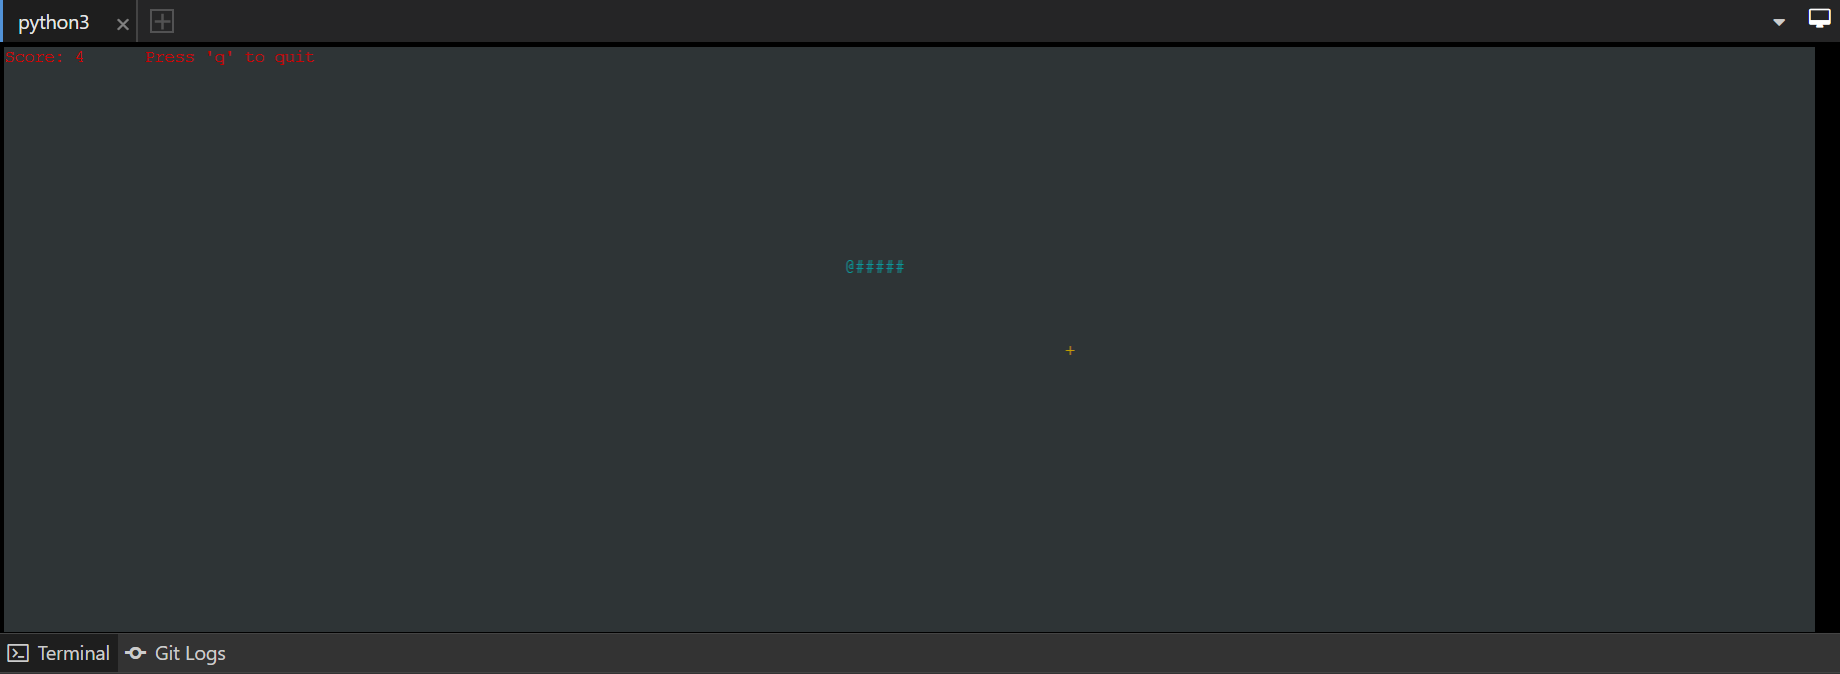
真的可以玩哦!不过貌似在Cloud Studio上有延时(毕竟要与服务器交互),感兴趣的不妨在本地跑一跑哈哈~
PHP Demo

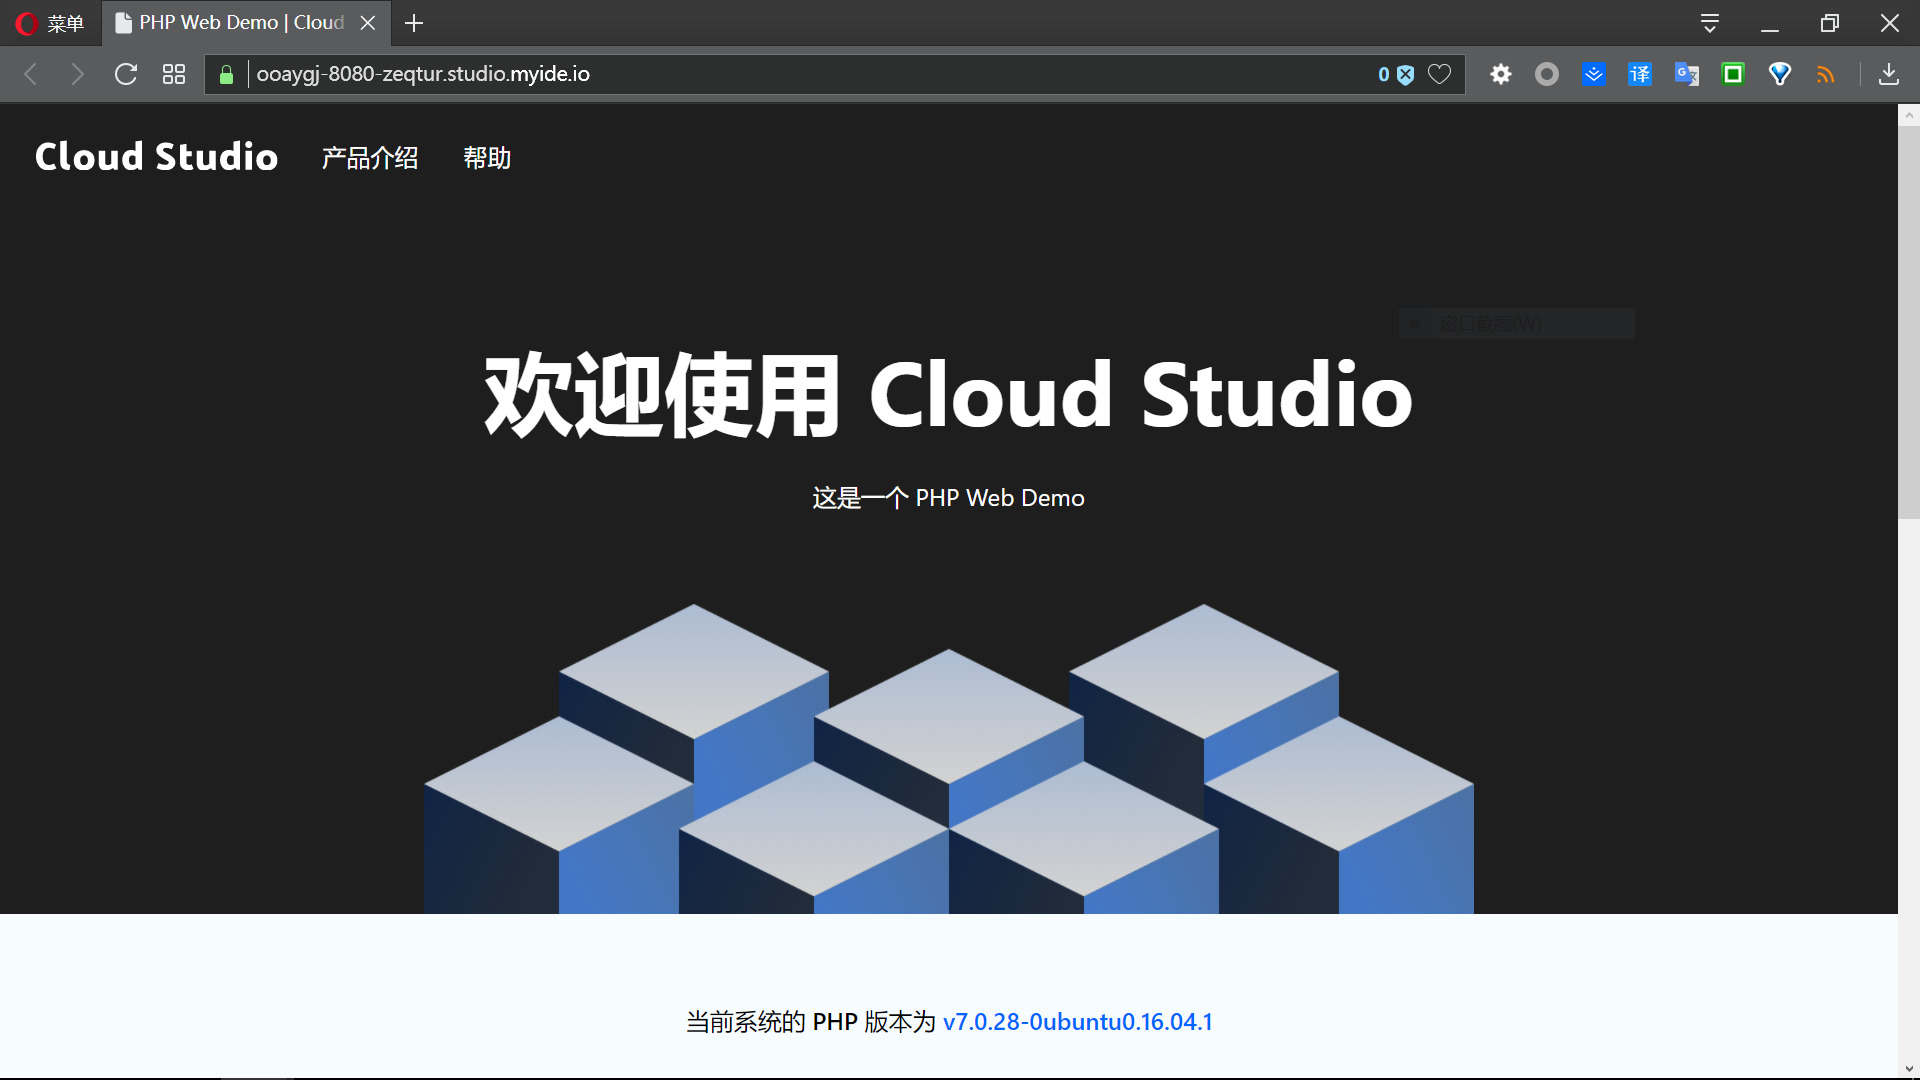
一个很简单的PHP Web Demo,配合Cloud Studio中的Access URL选项卡使用,可将来自公网的访问重定向至云主机PHP Web Server的监听端口。这里提示找不到favico.ico,页面图标无法加载,公网通过重定向链接可访问PHP服务。
Java Demo
官方提供的Java Demo是一个基于Maven构建的Spring Boot项目,StudioDemoApplication.java代码如下。
package com.coding.studiodemo;

import org.springframework.boot.SpringApplication;
import org.springframework.boot.autoconfigure.SpringBootApplication;
import org.springframework.web.bind.annotation.RequestMapping;
import org.springframework.stereotype.Controller;
import org.springframework.ui.ModelMap;

@SpringBootApplication
@Controller
public class StudioDemoApplication {
    @RequestMapping("/")
    public String greeting(ModelMap map) {
        String jreVersion = System.getProperty("java.specification.version");
        map.addAttribute("jreVersion", "v" + jreVersion);
        return "index";
    }

    public static void main(String[] args) {
        SpringApplication.run(StudioDemoApplication.class, args);
    }
}
配置文件pom.xml代码如下
<?xml version="1.0" encoding="UTF-8"?>
<project xmlns="http://maven.apache.org/POM/4.0.0" xmlns:xsi="http://www.w3.org/2001/XMLSchema-instance"
    xsi:schemaLocation="http://maven.apache.org/POM/4.0.0 http://maven.apache.org/xsd/maven-4.0.0.xsd">
    <modelVersion>4.0.0</modelVersion>

    <groupId>com.coding</groupId>
    <artifactId>studio-demo</artifactId>
    <version>0.0.1-SNAPSHOT</version>
    <packaging>jar</packaging>

    <name>studio-demo</name>
    <description>Demo project for Spring Boot</description>

    <parent>
        <groupId>org.springframework.boot</groupId>
        <artifactId>spring-boot-starter-parent</artifactId>
        <version>2.0.1.RELEASE</version>
        <relativePath/> <!-- lookup parent from repository -->
    </parent>

    <properties>
        <project.build.sourceEncoding>UTF-8</project.build.sourceEncoding>
        <project.reporting.outputEncoding>UTF-8</project.reporting.outputEncoding>
        <java.version>1.8</java.version>
    </properties>

    <dependencies>
        <dependency>
            <groupId>org.springframework.boot</groupId>
            <artifactId>spring-boot-starter</artifactId>
        </dependency>

        <dependency>
            <groupId>org.springframework.boot</groupId>
            <artifactId>spring-boot-starter-test</artifactId>
            <scope>test</scope>
        </dependency>
        <dependency>
            <groupId>org.springframework.boot</groupId>
            <artifactId>spring-boot-starter-web</artifactId>
        </dependency>
        <dependency>
            <groupId>org.springframework.boot</groupId>
            <artifactId>spring-boot-starter-thymeleaf</artifactId>
        </dependency>
    </dependencies>
    <build>
        <plugins>
            <plugin>
                <groupId>org.springframework.boot</groupId>
                <artifactId>spring-boot-maven-plugin</artifactId>
            </plugin>
        </plugins>
    </build>


</project>
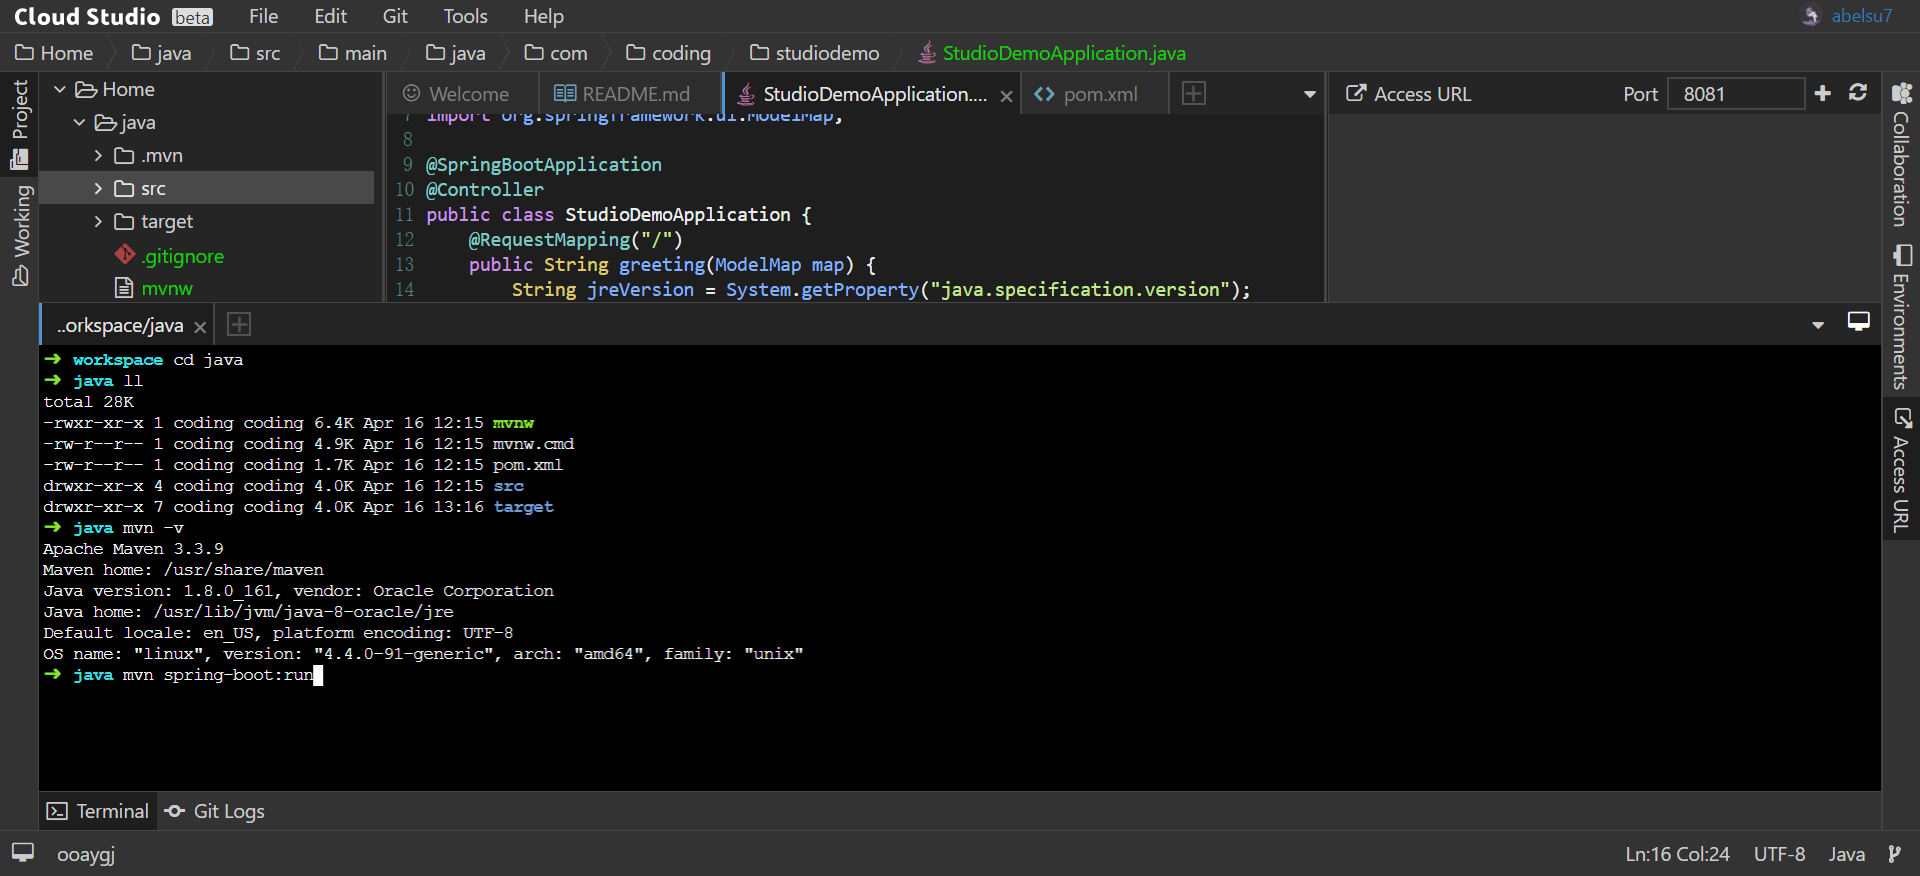
查看Maven版本为3.3.9,直接运行mvn spring-boot:run启动服务,由于是第一次运行,需要等待一段时间来下载依赖。
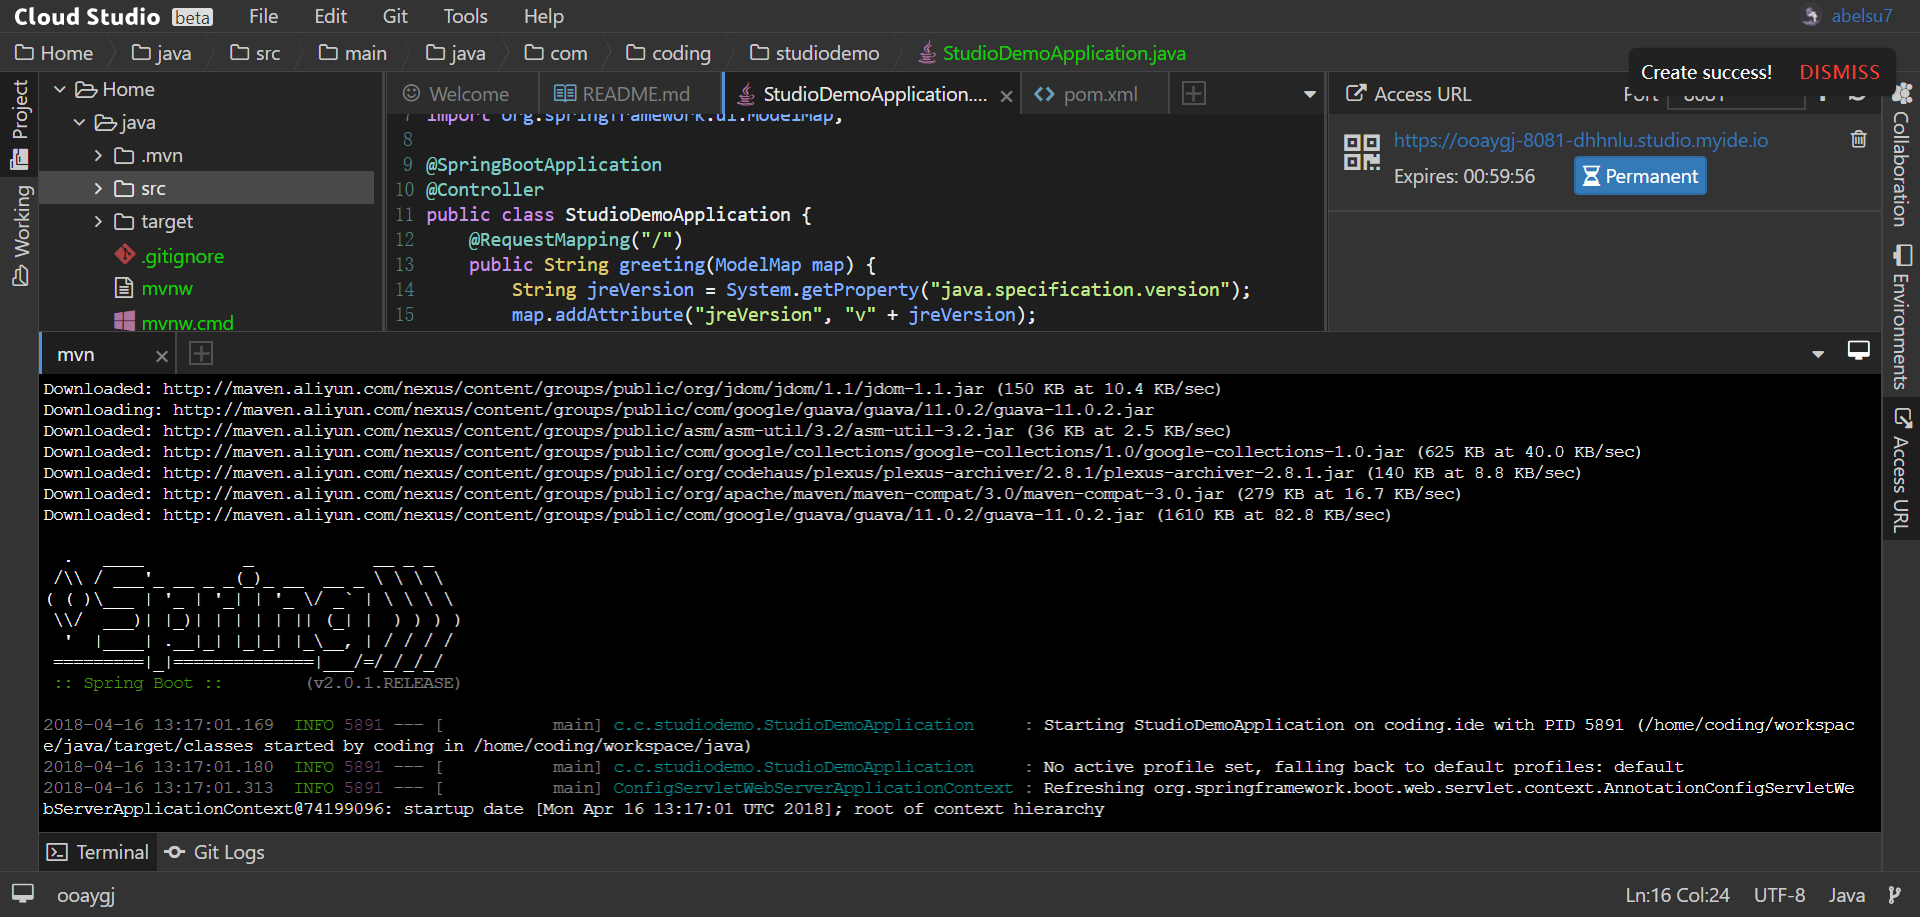
依赖下载完成后,服务启动成功,创建Access URL供公网访问。
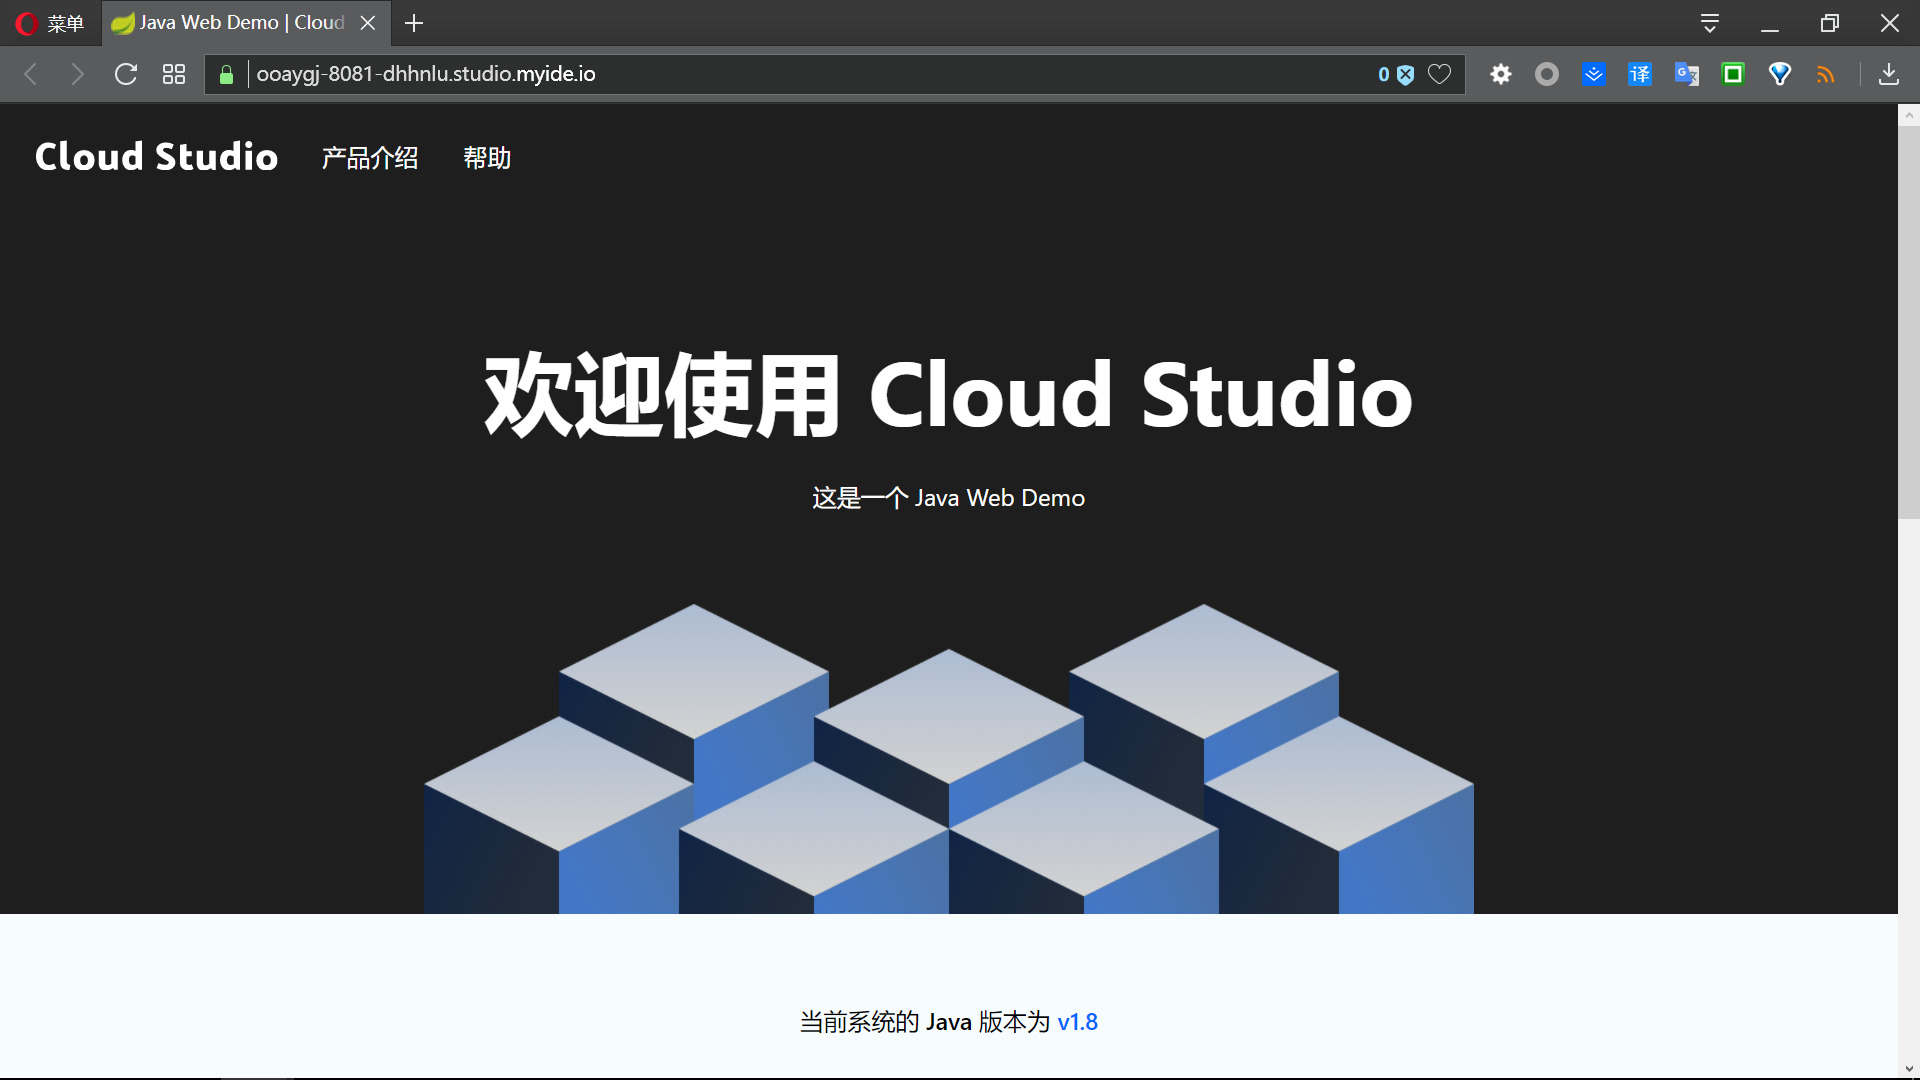
最后访问该链接,成功访问Java Web Demo Page,Cloud Studio初体验结束~
总结一下
和传统的云主机相比,基于容器技术的Cloud Studio更加轻量快捷,可视化IDE加持大大提升了开发效率,应用场景也更有针对性。如果只是希望在预搭建的环境中跑一些服务或进行一些实验,Cloud Studio会是一个不错的选择。
但是,Free Trial版本中Access URL的有效期仅为1个小时(解除有效期限制须升级CODING钻石会员),并且无法通过公网IP访问腾讯云专用主机,因此如果需要在公网中提供服务又对图形界面没有太大执念的话,各家的云主机仍是开发的第一选择。
参考文章

